The following post covers the pros, cons and step-by-step instructions for connecting Excel to Databricks. We'll show how to use the Databricks ODBC driver to connect Databricks to Excel and import data.
We'll also show an easier and better alternative using Row Zero, a spreadsheet designed for big data that more easily connects to Databricks and supports millions of rows. Read on for more information or skip to specific sections below.
Table of Contents
- How to connect Excel to Databricks
- 4 ways to import Databricks to Excel
- Power Query (6 steps + ODBC driver installation)
- Power Pivot (8 steps + ODBC driver installation)
- Microsoft Query (5 steps + ODBC driver installation)
- Export CSV (6 steps)
- Better option: Databricks to Row Zero (3 steps)
- Pros and Cons of Connecting Databricks to Excel
How to Connect Excel to Databricks
The following instructions cover 4 methods for connecting Databricks to Excel using the Databricks ODBC driver. You must first download and install the Databricks ODBC driver and then take additional steps to import Databricks data to Excel as shown below.
Download and Install the Databricks ODBC Driver
In order to connect Microsoft Excel to Databricks, you must first download and install the Databricks ODBC driver. Instructions and download links can be found in Databricks ODBC driver documentation. You can also go straight to operating system specific instructions:
Operating system agnostic Databricks ODBC driver instructions are included below (Linux, Mac OS, Windows)
Download the appropriate Databricks ODBC driver for your operating system (Linux, Mac, or Windows).
Install the Databricks ODBC Driver - Once you've downloaded the correct drive version, unzip or decompress the file in your downloads folder. Inside, you will find an executable file type (e.g. Simba Spark 2.8 64-bit.msi). Double click on the executable to install the Databricks ODBC driver and follow the steps in the installation wizard.

Configure and Add the Databricks ODBC Driver
In Windows, go to the start menu and search for 'ODBC Data Sources.' Select and open the ODBC Data Source Administrator.
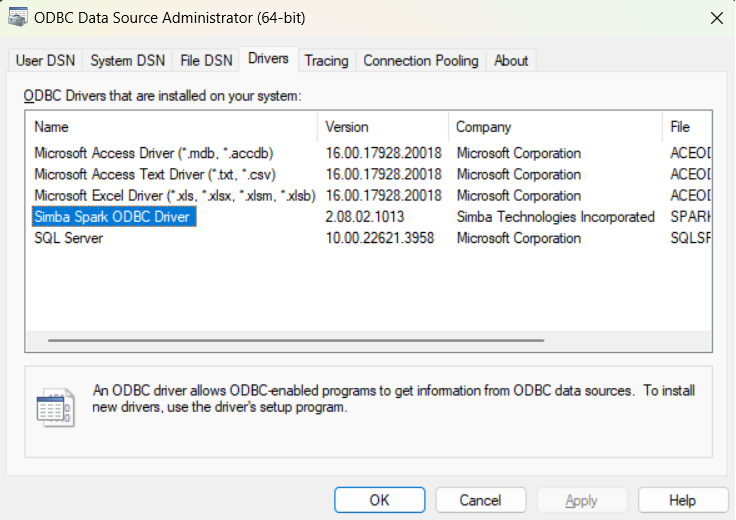
Navigate to the 'Drivers' tab and look for your Databricks driver in the list. If you don't see it, it has not been installed correctly and you should try repeating the previous step. Assuming your driver is visible in the list, click on the 'User DSN' or 'System DSN' tabs, click 'Add,' select the Databricks driver from the list, and click 'Finish.'

Next add the connection credentials for your Databricks database. You will need the hostname, which can be found in Databricks under 'SQL Warehouses > Connection details (e.g. dbc-7hle3mj4-wu38.could.databricks.com). The port is '443'. The mechanism should be set to 'OAuth 2.0'.
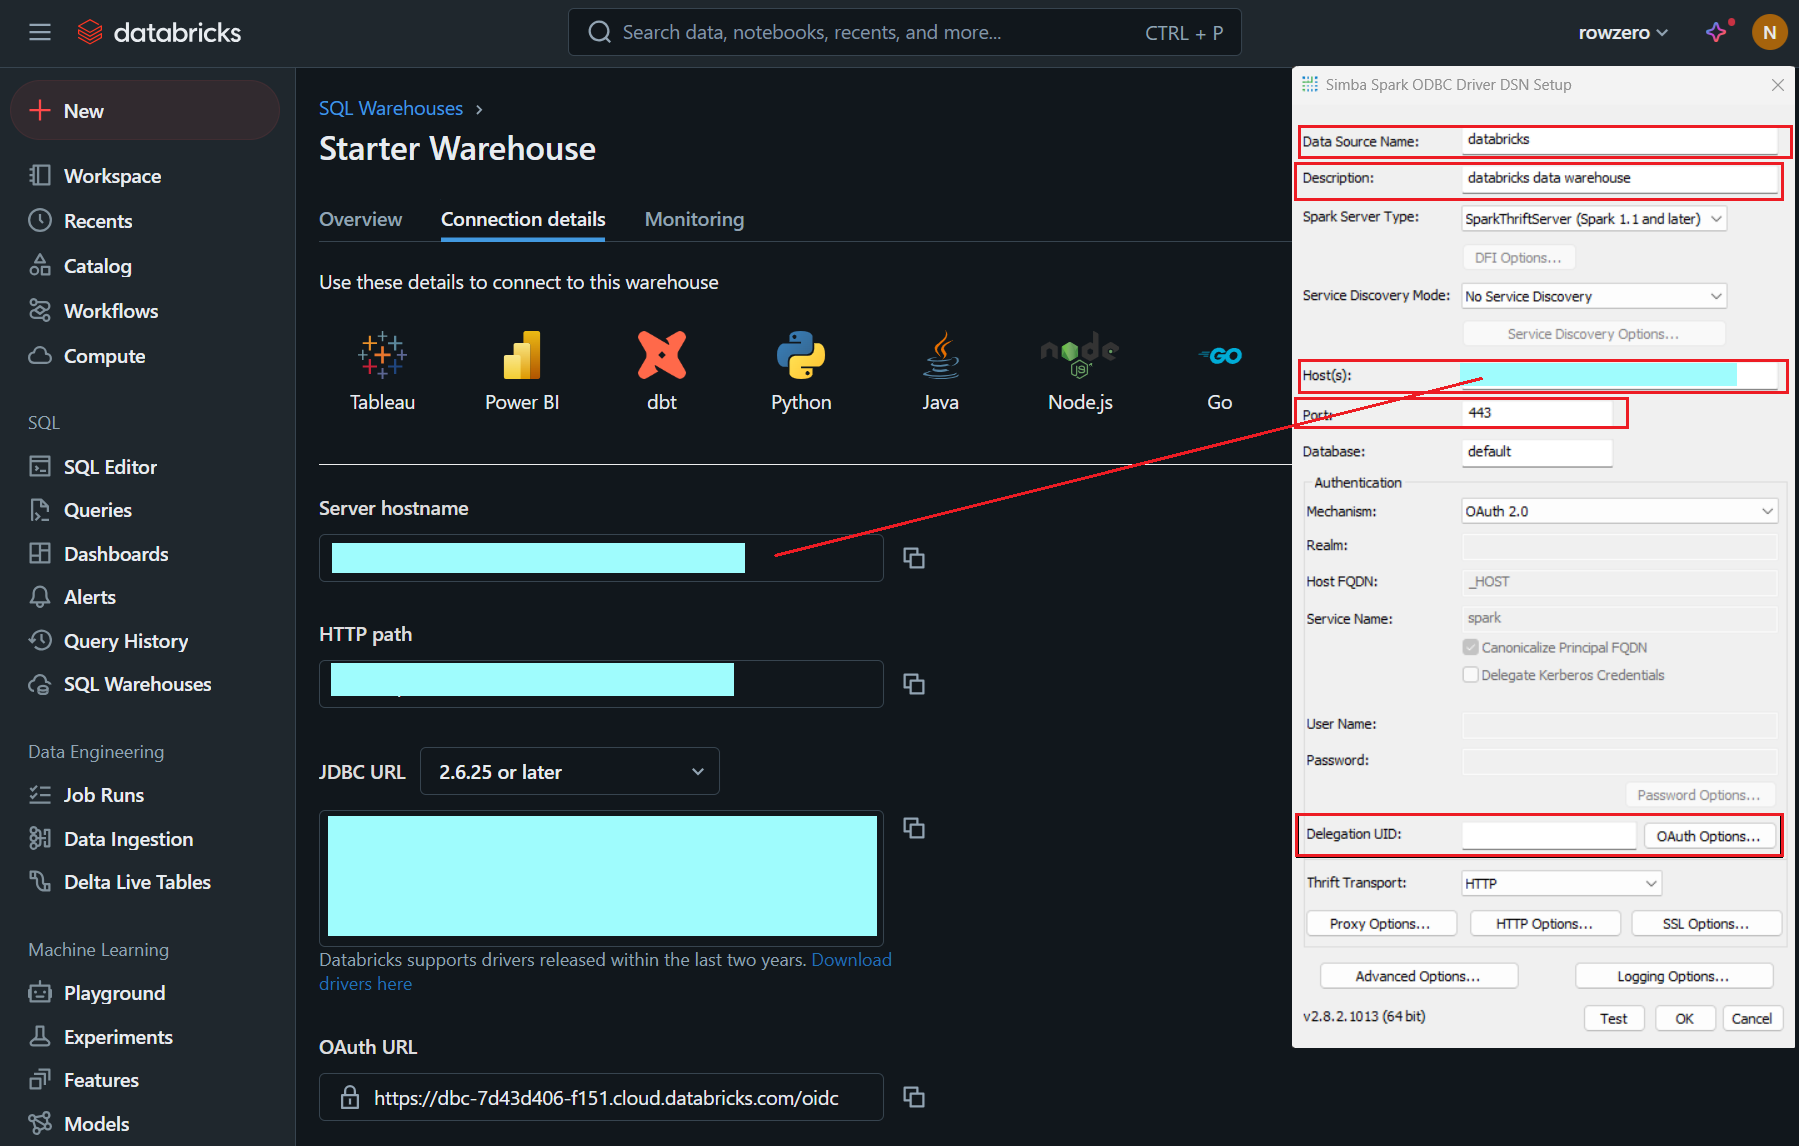
Next click on 'OAuth Options' and on the next screen, under Authentication Flow select 'Brower Based Authorization Code' and uncheck 'Ignore SQL_DRIVER_NONPROMPT.' Then click 'OK'.

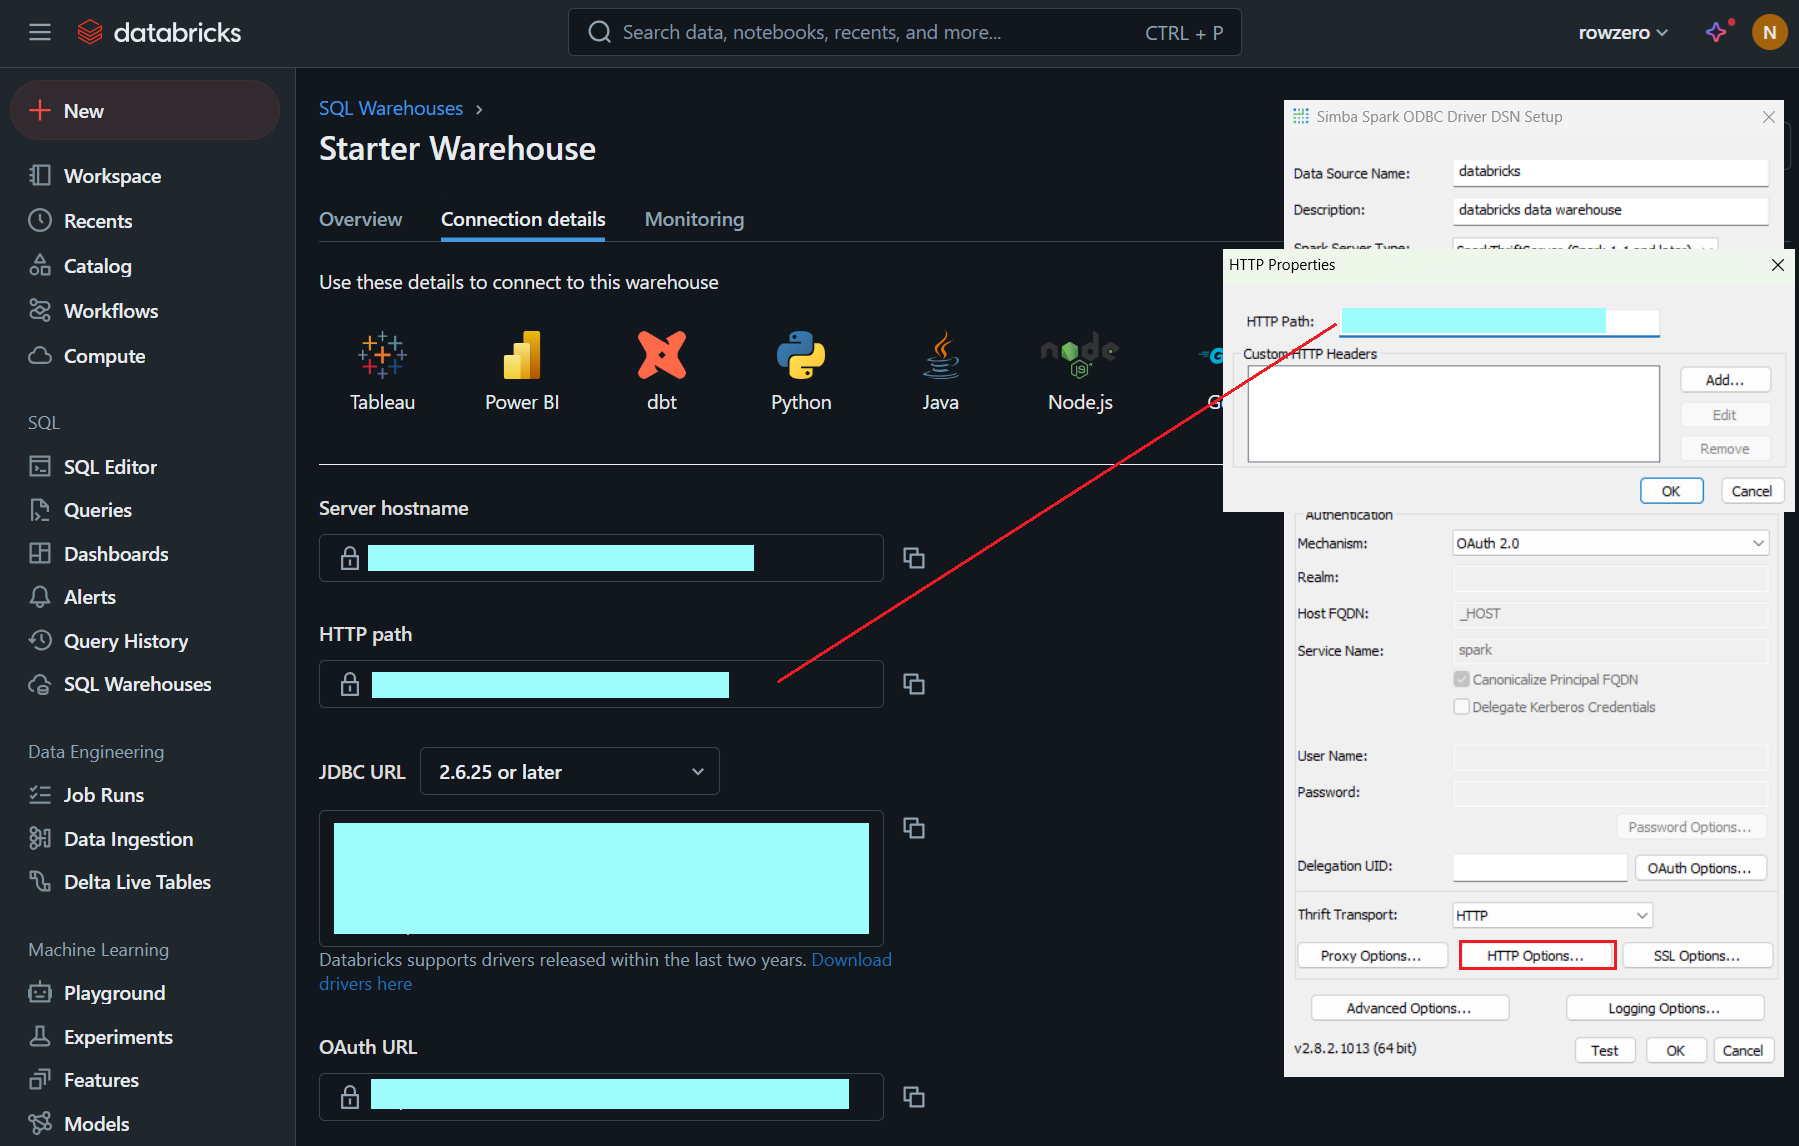
Now back on the DSN setup page, click 'HTTP Options'. Navigate to your Databricks account and copy the HTTP path from Connection details (e.g. /sql/1.0/warehouses/09u4rj09jf0439ur39jf). Paste the HTTP path back in your DSN setup.
Next click on 'SSL Options' and select 'Enable SSL' and click 'Ok.'
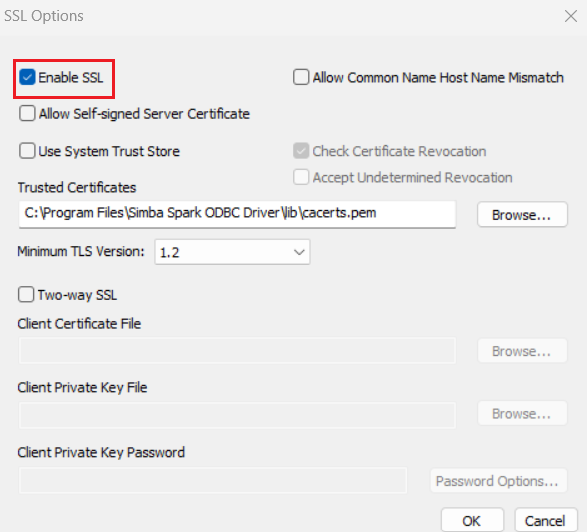
Lastly, hit 'Test' at the bottom of the DSN Setup window to test the connection.
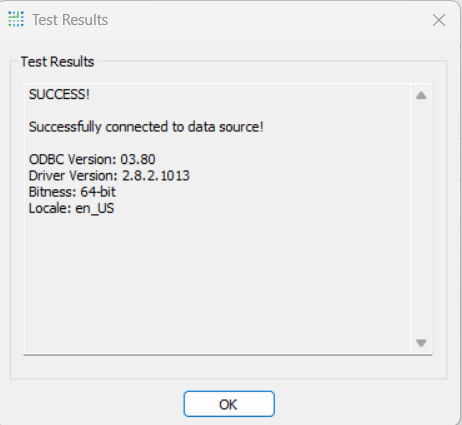
If you get a success message, then you're connected and ready to import data from Databricks to Excel using the methods below.
4 Ways to Import Databricks data to Excel
The following instructions cover 4 methods for importing Databricks to Excel.
1. Connect Excel to Databricks with Power Query
- The following instructions assume Databricks ODBC driver has already been downloaded.
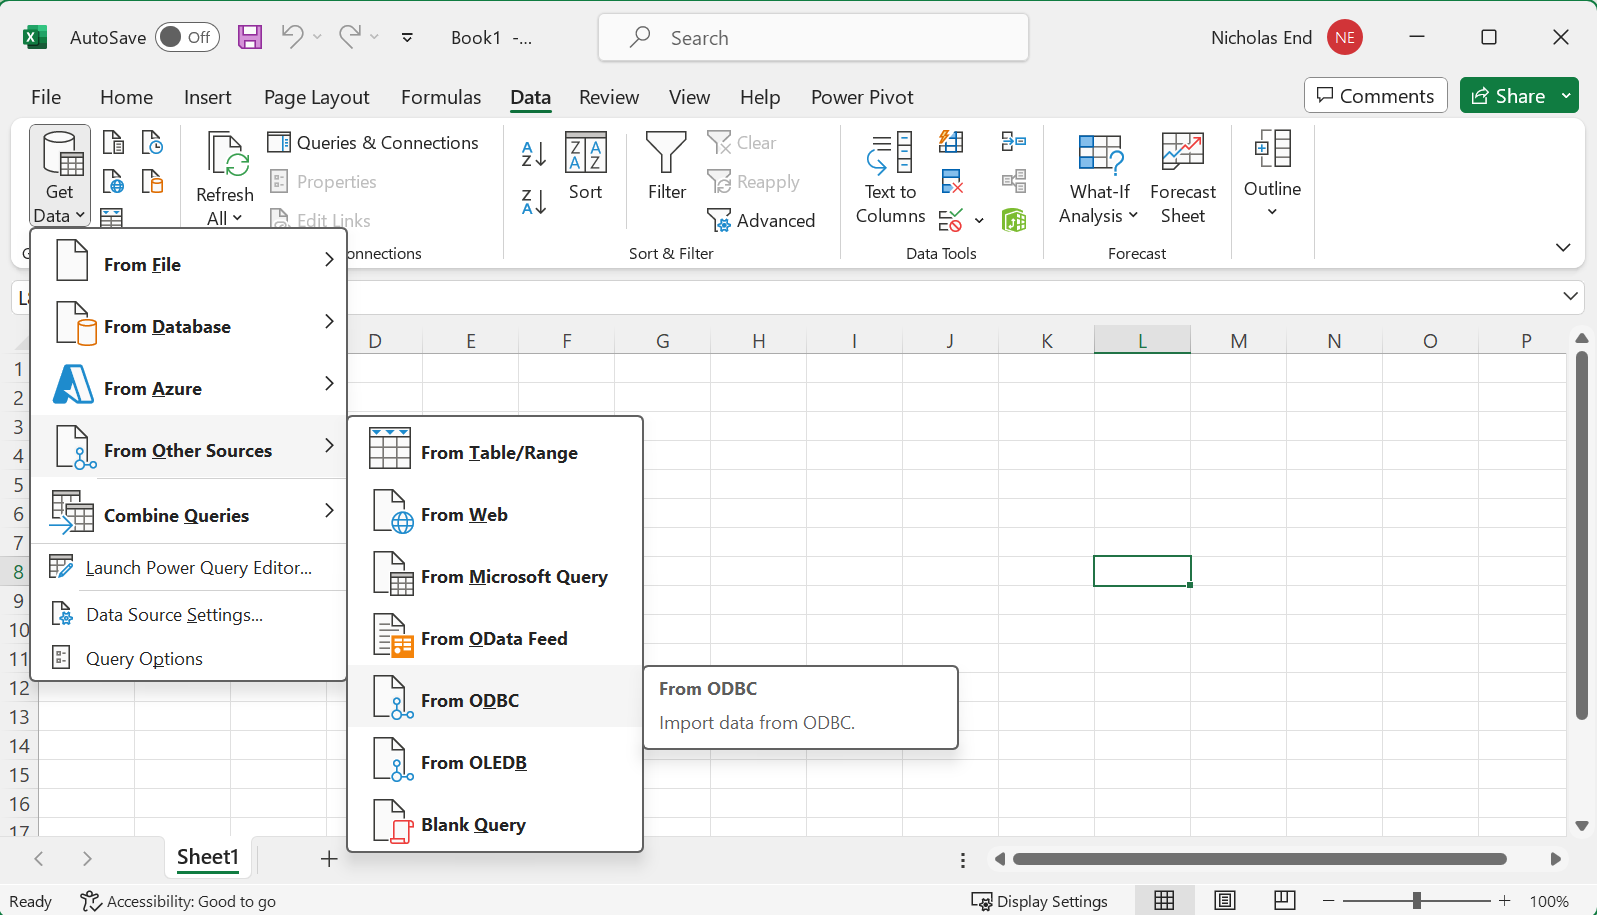
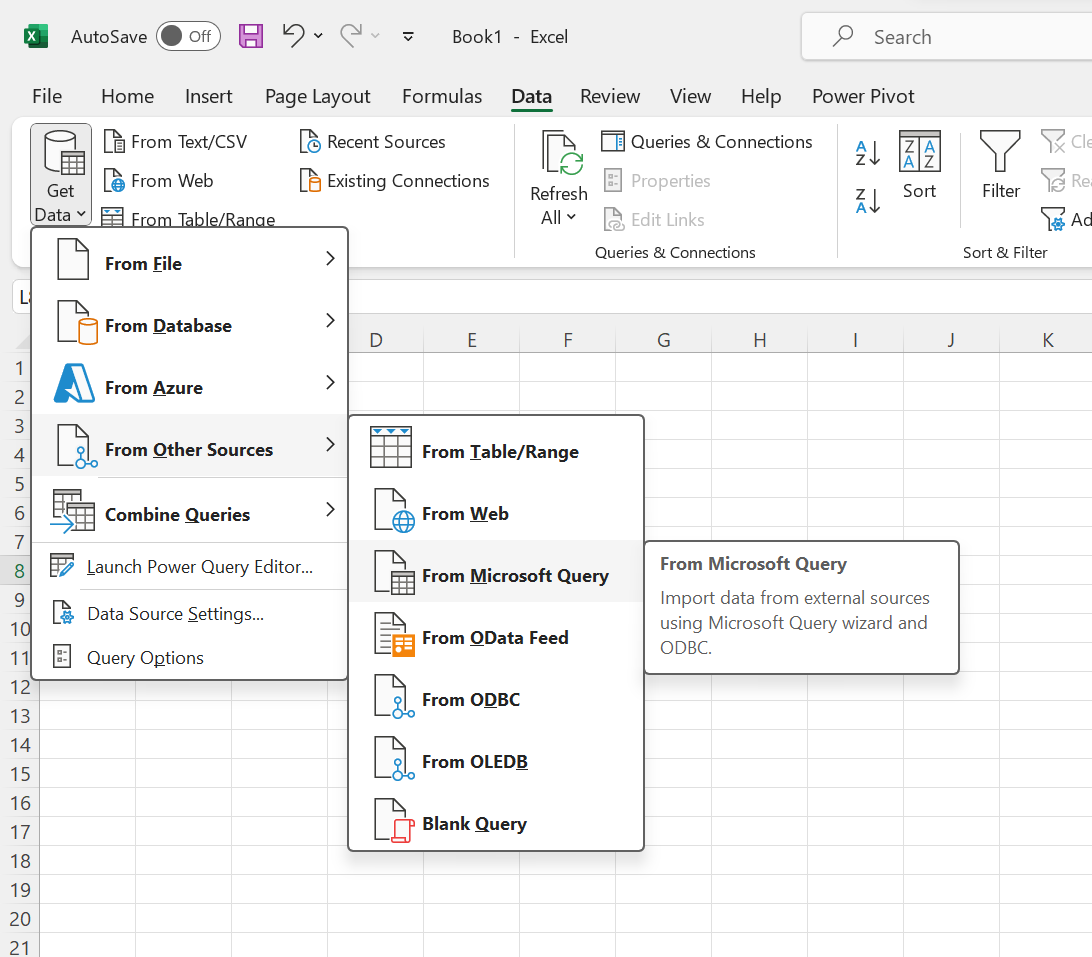
- Open Excel and click Data > Get Data > From Other Sources > From ODBC.
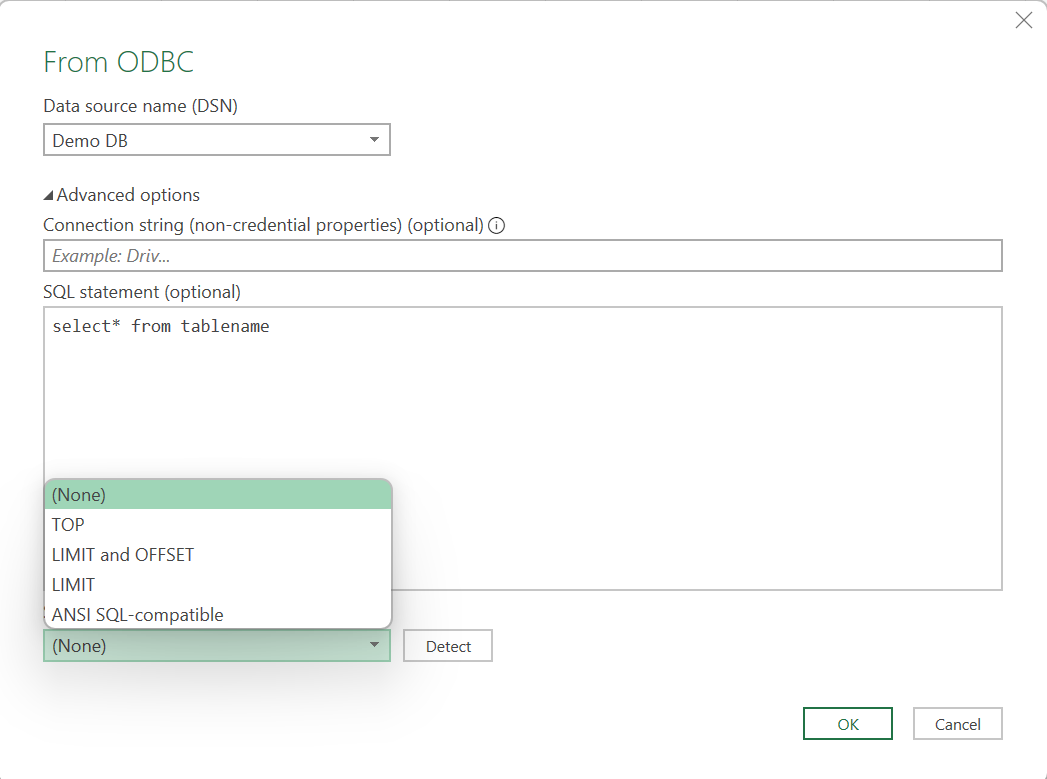
- In the 'From ODBC' menu select the data source name given when the ODBC driver was installed.

- Click on advanced options to enter a SQL statement to be executed upon connection or use the bottom drop down to select methods for reducing row size for the query results. Row size is important because Microsoft Excel can slow down or crash when it tries to open large data sets.
- When prompted, enter the Databricks username and password for the database. If the database is not password protected select 'default or custom' in the upper right corner. Then press 'Connect'
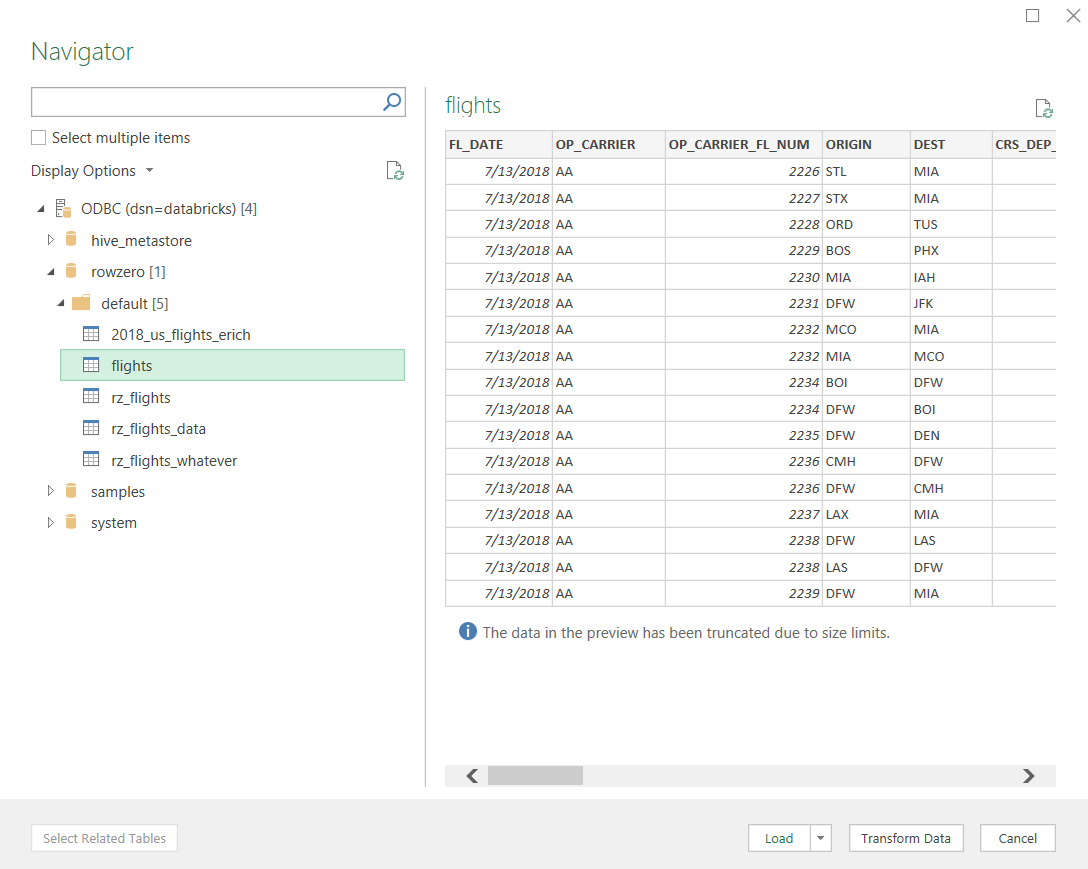
- A Navigator window will appear showing all the tables in your database. Select the table you want to work with and click 'Load'
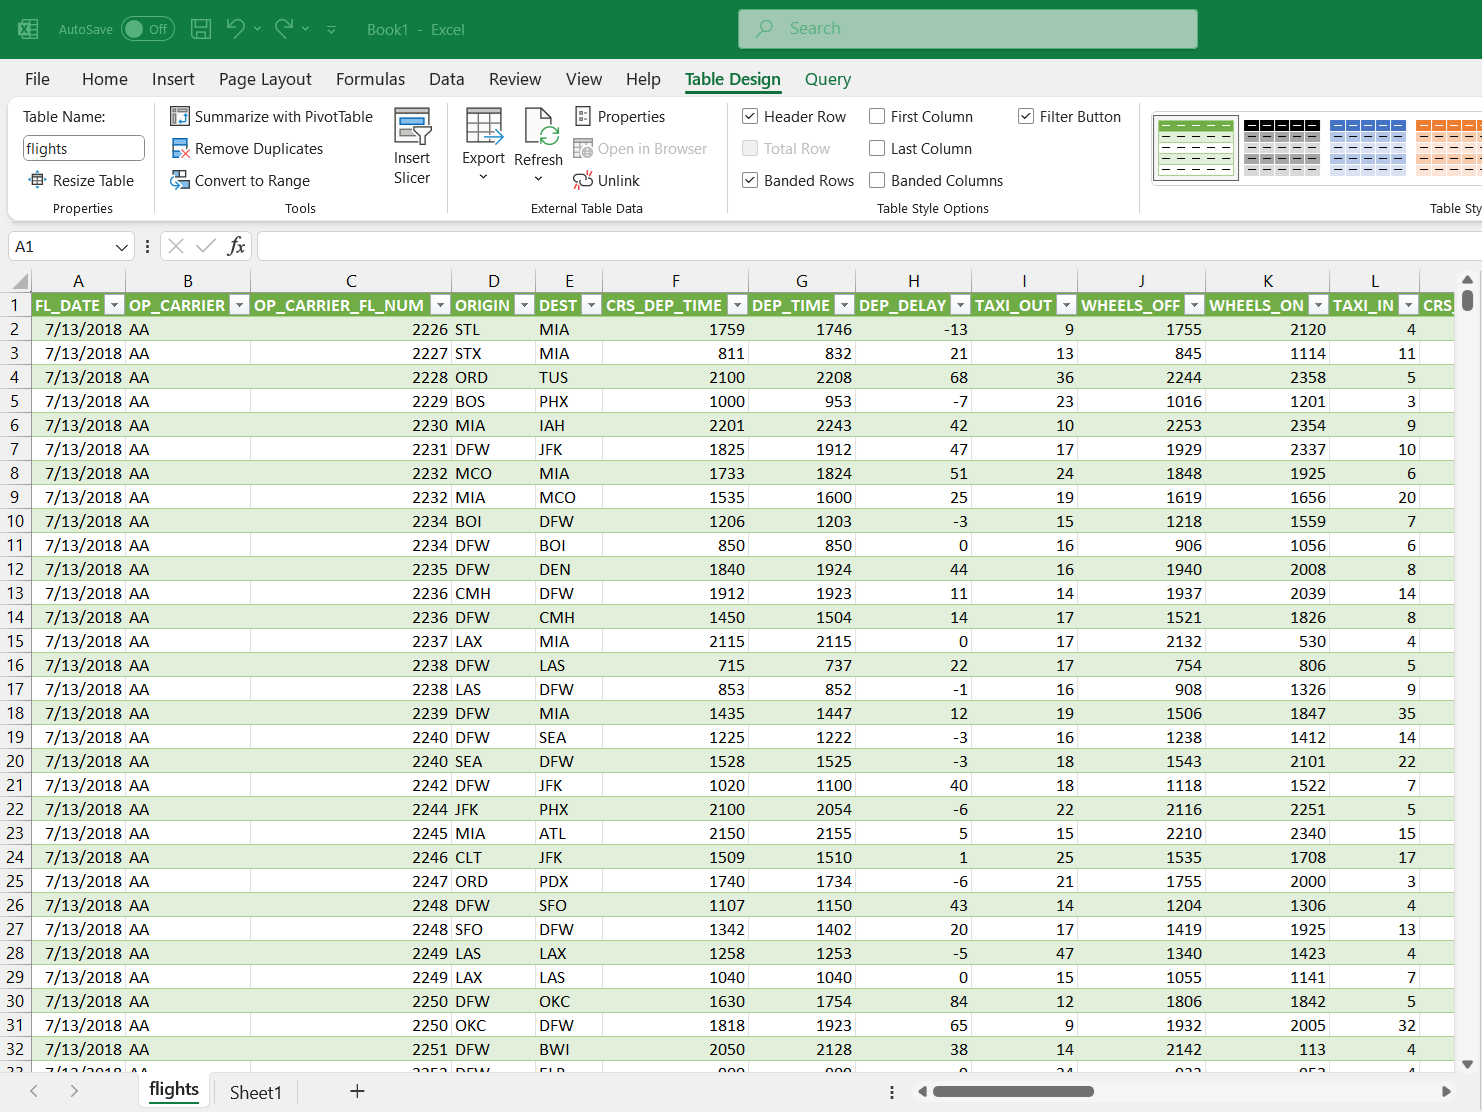
- Finally, your data will be visible in Microsoft Excel in a data table. Excel data tables have different properties than data normally displayed in Excel but that is content for a separate blog.
2. Connect Excel to Databricks with Power Pivot
- The following instructions assume the Databricks ODBC driver has already been downloaded.
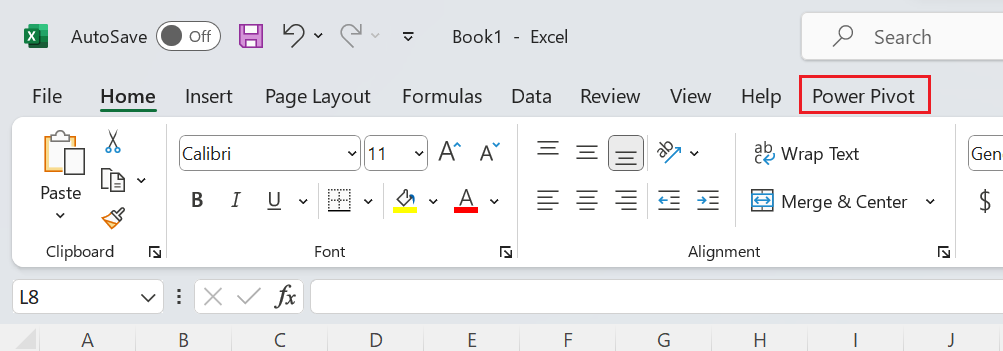
- Open Excel and click on the 'Power Pivot' heading from the top level menu.
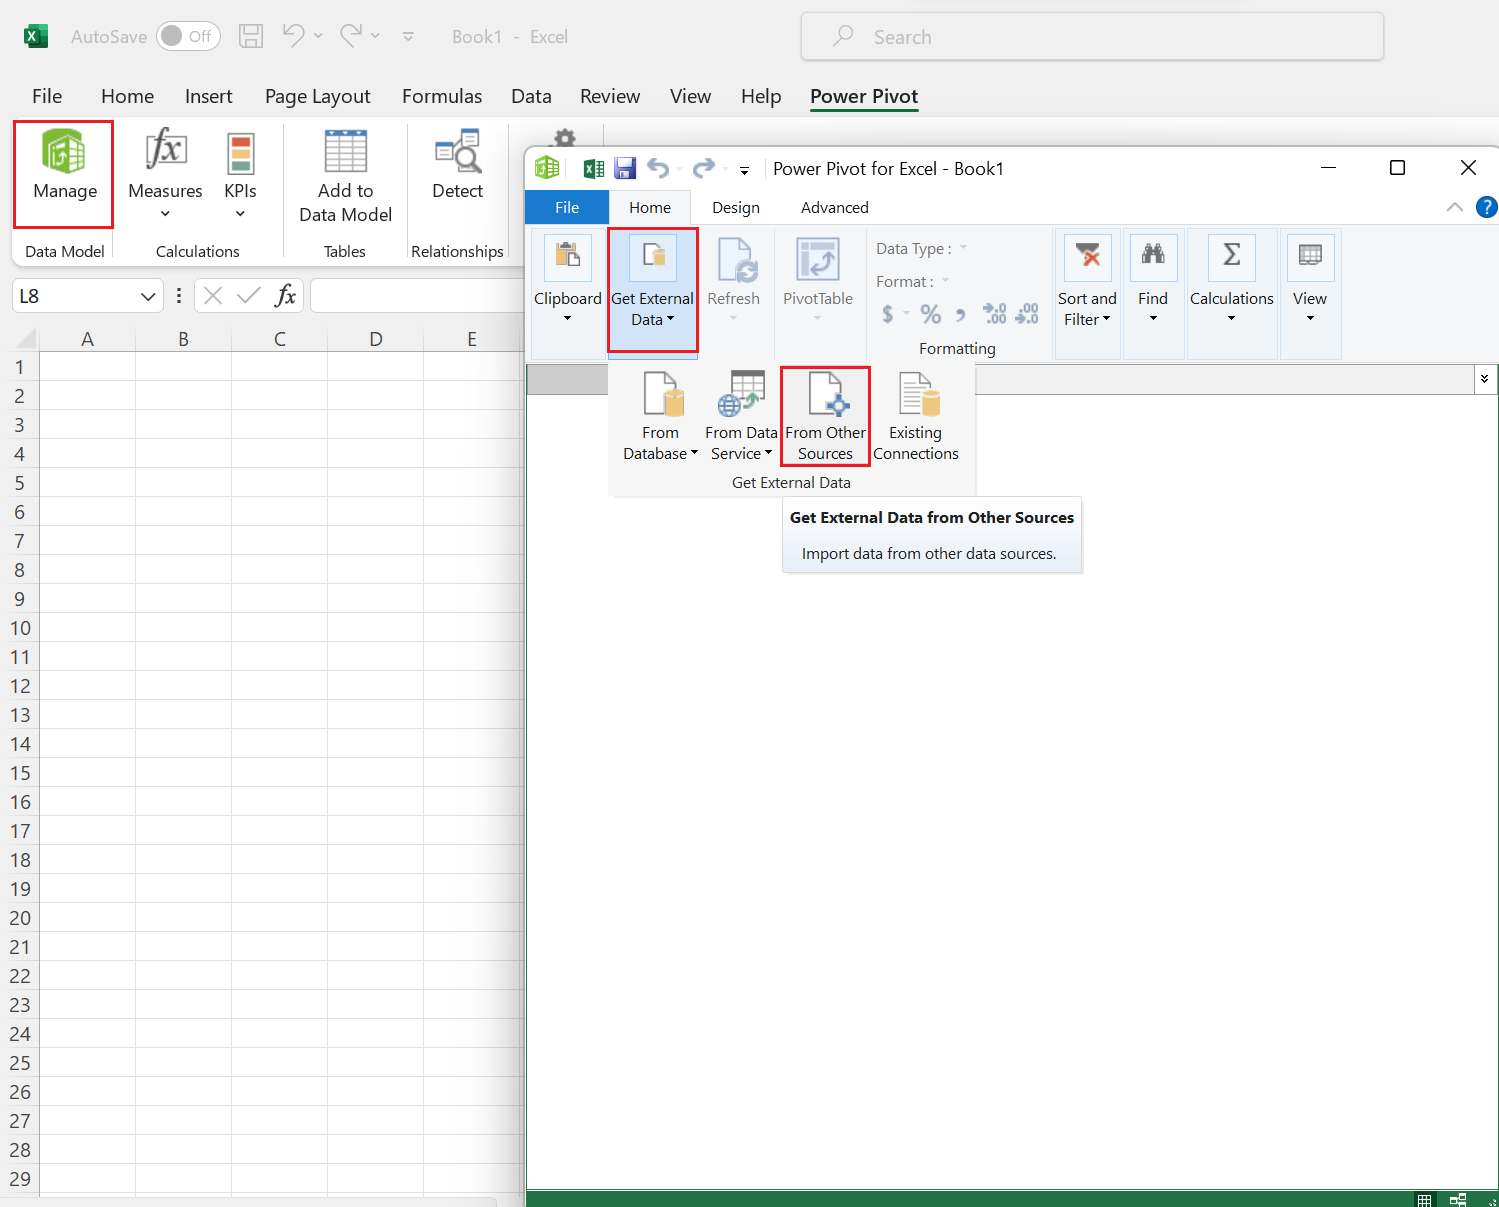
- Once the Power Pivot menu opens, click on Manage > Get External Data > From Other Sources.
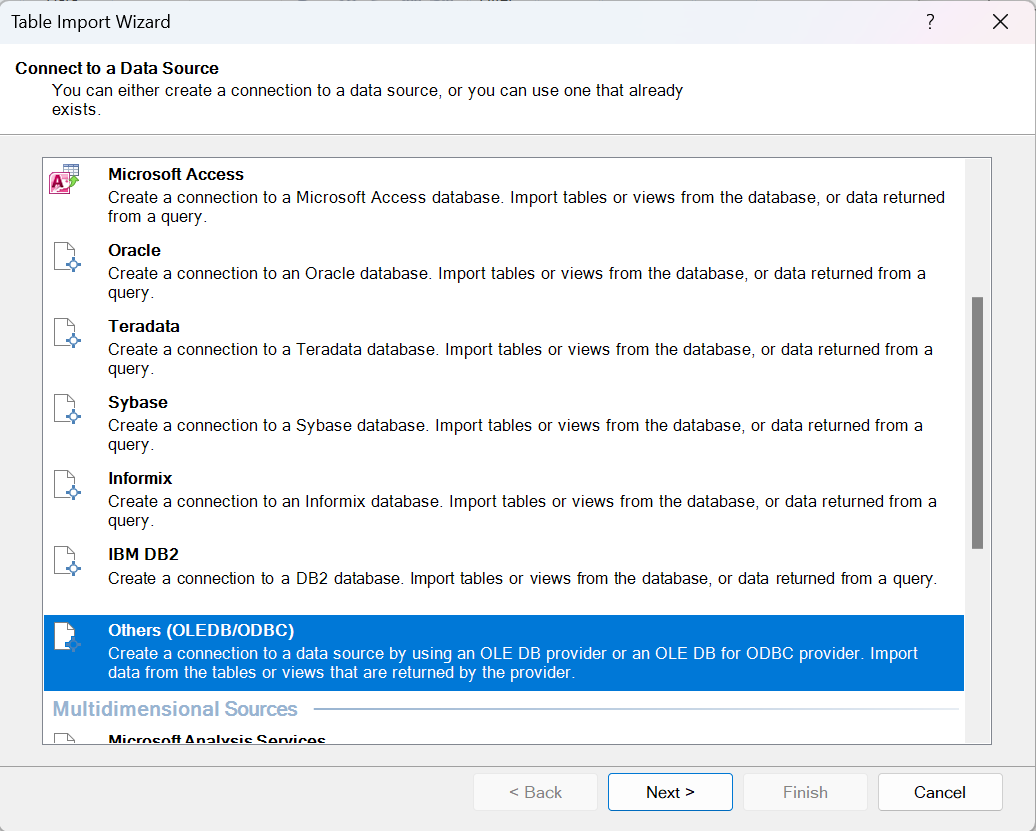
- Select 'Others (OLEDB/ODBC)' from the list of options
- Click on the 'Build' button under the text box.
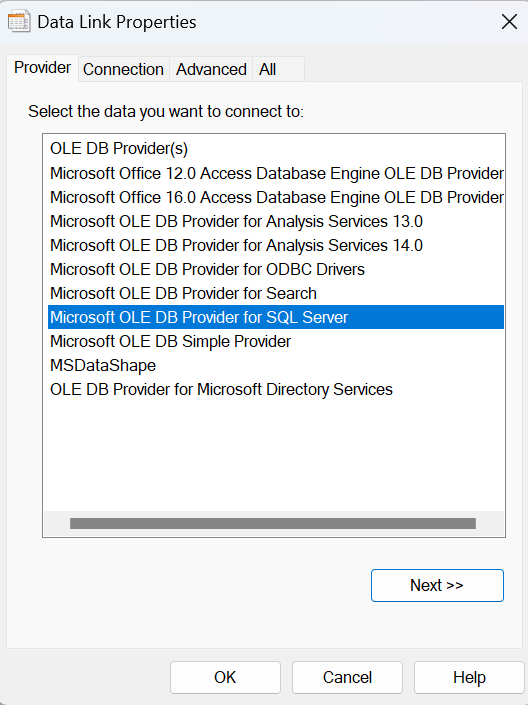
- On the Data Link Properties screen click on the 'Provider' tab and select 'Microsoft OLE DB Provider for ODBC Drivers.'
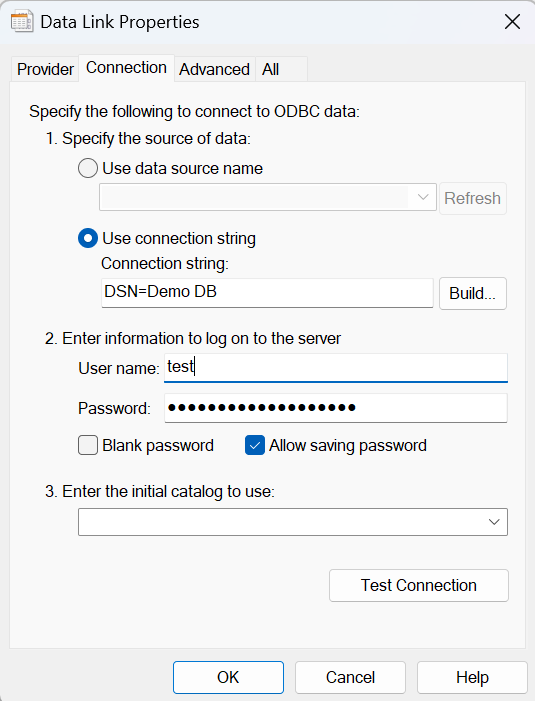
- Return to the connection tab and select your DSN from the 'Data Source Name' drop-down. If you don't see your Databricks DSN, review the Databricks ODBC download instructions.
- Enter your user name and password, and test the connection.
- Click 'Next' and use the 'Select Tables and Views' page of the wizard to choose the tables to import.
3. Connect Excel to Databricks with Microsoft Query
- The following instructions assume the Databricks ODBC driver has already been downloaded.
- In Excel, click on the data tab, then 'other sources' and 'Microsoft Query.'
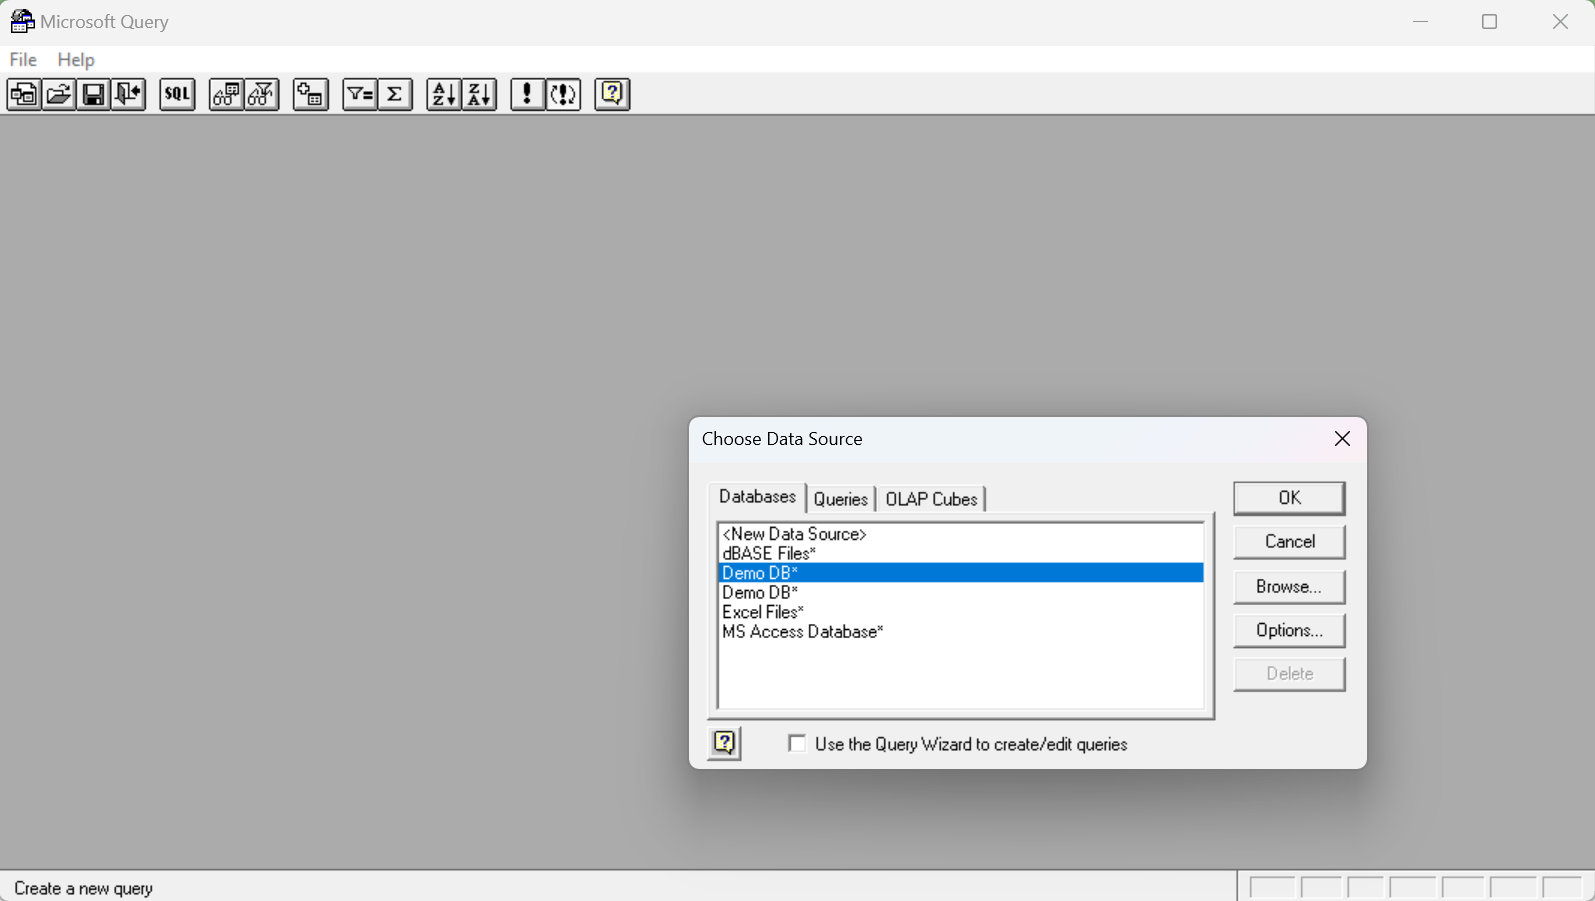
- In the 'Choose Data Source' Menu, select your DSN from the list.
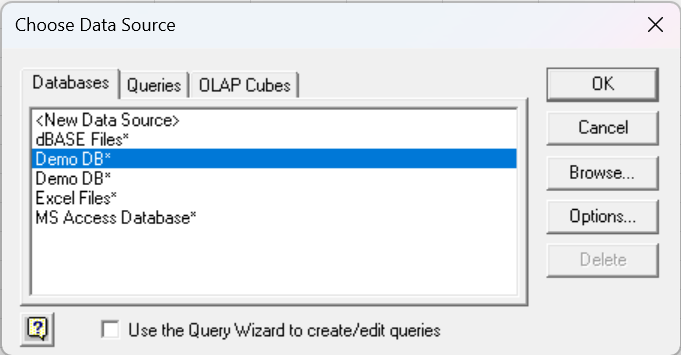
- Uncheck the box for 'Use the Query Wizard to Create/Edit Queries' and click 'Ok.
- On the following screen select the tables to add to your query and click the 'add' button.
- In the graphical editor there are options to filter, sort, join, and create other parameters for your query.
4. Download and Open Databricks CSV in Excel
The CSV option is simple and free but is not an actual live connection between Excel and Databricks. CSV import is a one-time data import to Excel that will need to be repeated every time the data in Databricks changes. Follow the steps below for the CSV import from Databricks to Excel.
- Log in to your Databricks Account
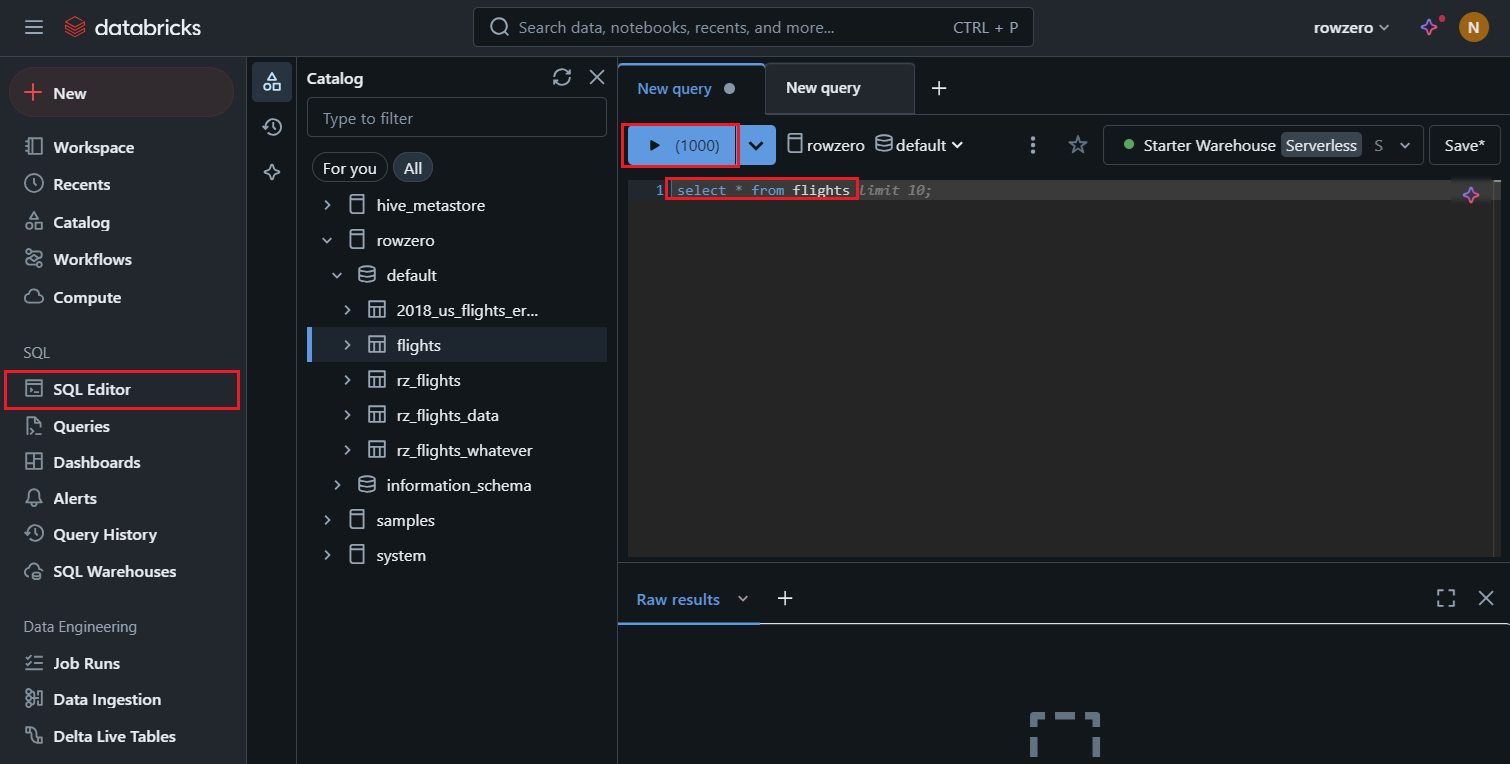
- Click on 'SQL Editor' in the Databricks UI
- Write your query. 'Select * from tablename' is an easy way to pull in all data from a particular table. If SQL is a familiar language, write a more complex query to pull the data needed into Excel. You can view the tables in your data warehouse in the menu on the left.
- Run your query with the 'run' button. Using the drop down, you can decide if you want to limit the run to 1000 results or all the results.
- Download results by clicking on the 'Raw Results' button and selecting 'Download CSV' or 'Download Excel.' Remember, if you download to Excel and your data is bigger than the Excel row limit (1,048,576 rows), your data won't fit in an Excel spreadsheet. If you download the CSV, you can then open the CSV with Excel or other applications.

- Repeat the process if Databricks data is updated.
Better Option - Databricks to Row Zero
Row Zero is a powerful spreadsheet that works like Excel, connects directly to Databricks, and can handle billion row datasets (1000x Excel's row limit) on Enterprise plans. You can easily build connected spreadsheets that auto-update. Everything built on Databricks data can be set to stay in sync and auto-update including pivot tables, charts, formulas, dashboards, etc.
Connect Databricks to Row Zero
There are 3 steps to easily connect Databricks to Row Zero and analyze data in a spreadsheet. Follow the instructions below to get started.
- Connect Row Zero to your Databricks account: Click the 'Data' icon in the top right of your workbook, click 'Add connection', and enter your connection details. You can also connect via Databricks OAuth.

- Write a query to import data: Click the '+' sign next to your Databricks connection to open a query editor. Write your query, click 'Run', and your Databricks data imports to a connected table.

- Build out your Databricks connected spreadsheet: Row Zero works like Excel and Google Sheets and everything you build on top of connected data stays in sync and dynamically updates, including pivot tables, charts, formula functions, etc. Here's more info on how to build connected spreadsheets.
Pros and Cons of Connecting Databricks to Excel
Pros
- Real-time Data: Connecting Microsoft Excel to Databricks lets you build on real-time, connected data stored in Databricks. Rather than static models or analysis that are stale as soon as they are built, connecting Excel to a Databricks database ensures models are always up-to-date with the latest data. You can refresh the Databricks query to pull in the latest data as needed.
- Efficiency: Once you connect Databricks to Excel, you can create recurring reports, dashboards, and analysis. Build once and then just update with the latest data rather than exporting to CSV and working with static files.
Cons
- Data Set Size: Excel cannot easily support the large data sets typically stored in cloud data warehouses. Excel has a 1,048,576 row limit and will slow down or crash with large datasets and complex analysis. To import data from Databricks to Excel, the Databricks query will need to trim the data down to a size that Excel can manage. There are options within Microsoft Excel, like data model and power query, to enable working with large data sets but they don't allow users to see all the data or use the same spreadsheet flexibility Excel supports with smaller datasets. If you want to import big datasets from Databricks, consider using a more powerful spreadsheet like Row Zero.
- Security: Importing data from Databricks to Excel can pose a data security risk because the data is moving from a cloud data warehouse where activity is traceable and behind layers of security to a locally stored Excel file stored on a computer. Once the data is in Excel, that data goes wherever the computer goes. The computer could be lost, stolen, or shared. The file could also be emailed to unauthorized users. A more secure option is an enterprise-grade cloud spreadsheet, like Row Zero.
- Complexity: Creating a live connection from Databricks to Excel is not as easy and intuitive as it could be and it can take time to set up every connection in an organization. Here again, Row Zero makes it much easier to connect your spreadsheet to Databricks with a built-in Databricks connector.
Conclusion
We reviewed how to connect Excel to Databricks with an ODBC driver and how to import data from Databricks to Excel. Connecting spreadsheets directly to your data source is a big win for efficiency, but can be a complicated process. Excel's performance limits can also make it challenging to work with large datasets from Databricks. If you're looking for an easier solution for connecting Databricks to a spreadsheet or you're hitting the performance limits of Excel, try Row Zero. Row Zero is a powerful spreadsheet designed for big data with a built-in Databricks connector that lets you build big, auto-updating spreadsheets.
If you use another cloud data warehouse or blob storage, Row Zero also connects to Redshift, Snowflake, BigQuery, Postgres, and S3.